Slider Revolution in WordPress
This is a SOM for setting up a basic slider – Your site will need to have the Slider Revolution plugin installed. Only use this if it is applicable.
1. Go to the back end of your site.
2. Navigate and click on ‘slider revolution’ in the sidebar.
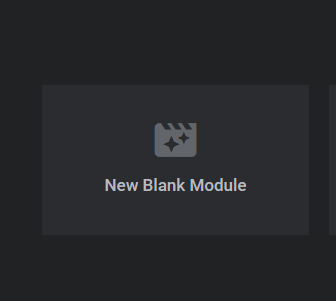
4. Click on the ‘new black module’ button
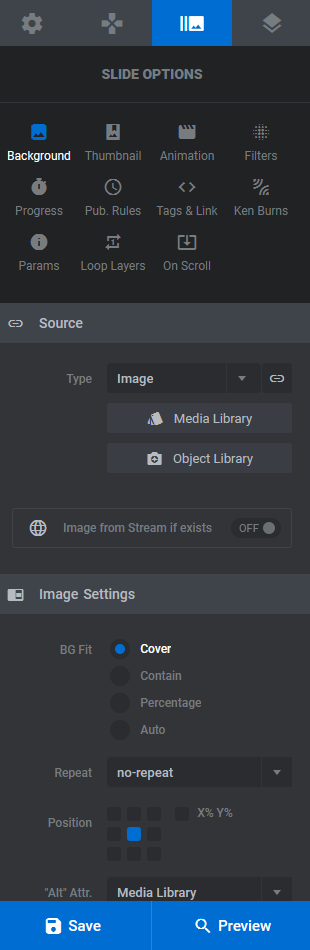
5. Click on the 3rd tab (main background tab), select the source of your background. You can upload your back ground image or video here by clicking ‘media library’.
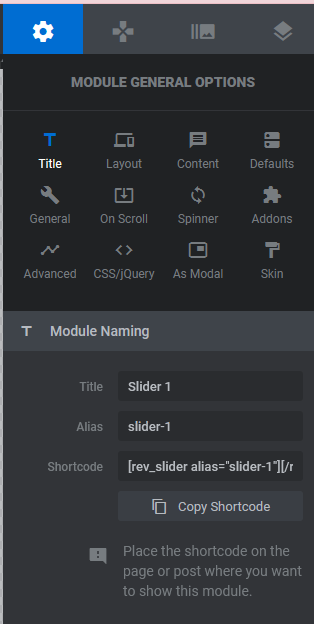
6. In the 1st tab (settings tab), you can change the name your slider and enter a slider alias.
7. In the 4th tab (Slide Animation tab), you can add any animations on top of your slides.
8. Scroll down to see a preview of the slide. Underneath the preview, you’ll see options to view your change history, and the timeline of your slider, where you can change the duration of slides and animations.
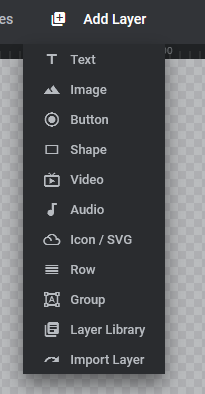
9. Click on Add Layer to add elements. From here you can add text/html, images, audio, video, buttons, shapes, objects and can import other items. When you click on these, they’ll open up so you can add the appropriate content. These are then able to move around, and you can adjust their specifications in the style tab.
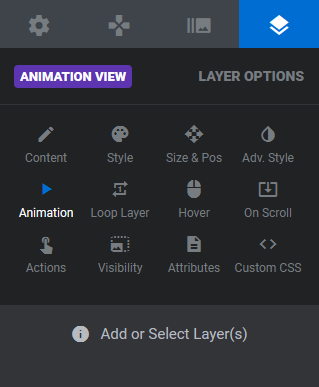
To use the tabs such as style, animation and loop, you will need to select the element you wish to apply this to, then make the edits.
The animation tab will allow you to add animations to specific elements, loop will determine how many times these will play, visibility determines on which devices or actions elements appear, behaviour selects how the elements will act, as does actions. Attributes is optional but can add IDs and classes to your slider.
10. Click save. After every change, click the save icon. To return to slider settings click the cog tab (1st tab).