Adding Posts in WordPress
- Log in to the backend of your site.
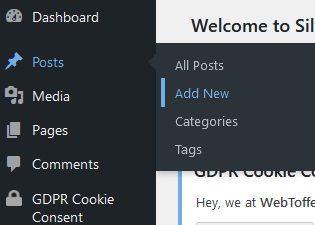
- Navigate to the posts category in the sidebar
- Click Add New
4. You will now be presented with the back end of a WordPress post you can start editing from. What this post looks like can vary depending on your themes page builder.
5. In the title box, enter the name of your page.

6. Once you have entered a title, a permalink (blue URL) will appear below it. This is the URL for this page, and it can be edited to read whatever title you choose.![]()
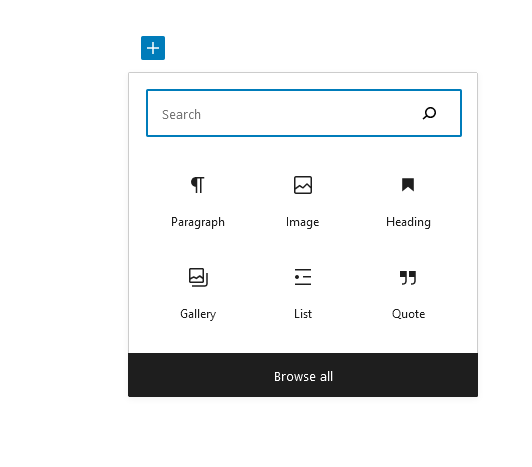
7. You can then write the content for your post.
8. If you click save draft or publish, then click on your permalink, you’ll see the front end of your page.
9. Below your page/content builder, you will see generic page options. These include default layouts, and other custom settings.
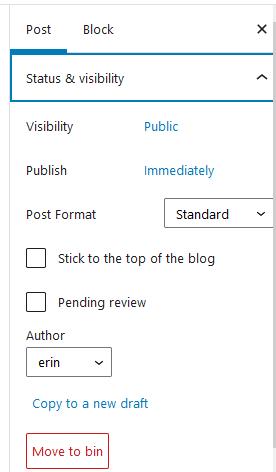
10. At the top right of the backend page, you’ll see the publish box. In here you can save your page as draft if you’re not ready to publish it.
11. If you click Preview, you can view your edits before publishing. Once you have published, you will not be able to undo any actions.

12. You can also change the status, visibility and publish date.
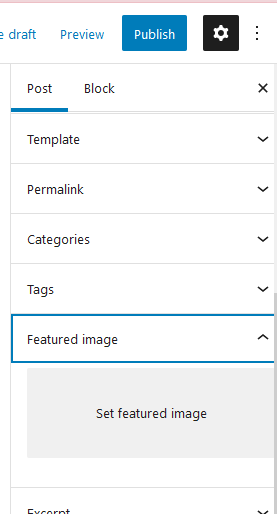
13. In Featured Image, you can select one featured image for your post.