Adding Pages in WordPress
- Log in to the back end of your website. (for example, dev.silvertoad.co.uk/site/wp-admin)
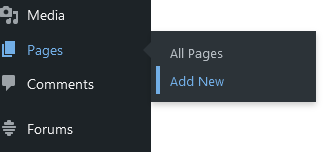
- Navigate to the Pages category and click it.
- Click ‘Add New’
4. You will now be presented with the back end of a WordPress page you can start editing from. What this page looks like can vary depending on themes and plugins.

5. In the title box, enter the name of your page.

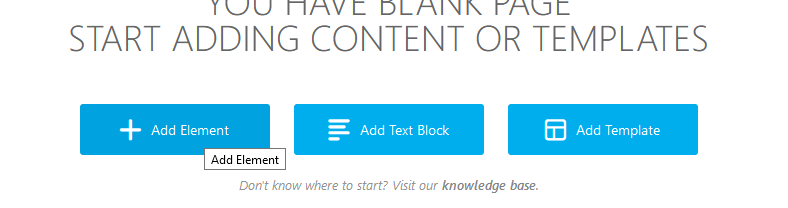
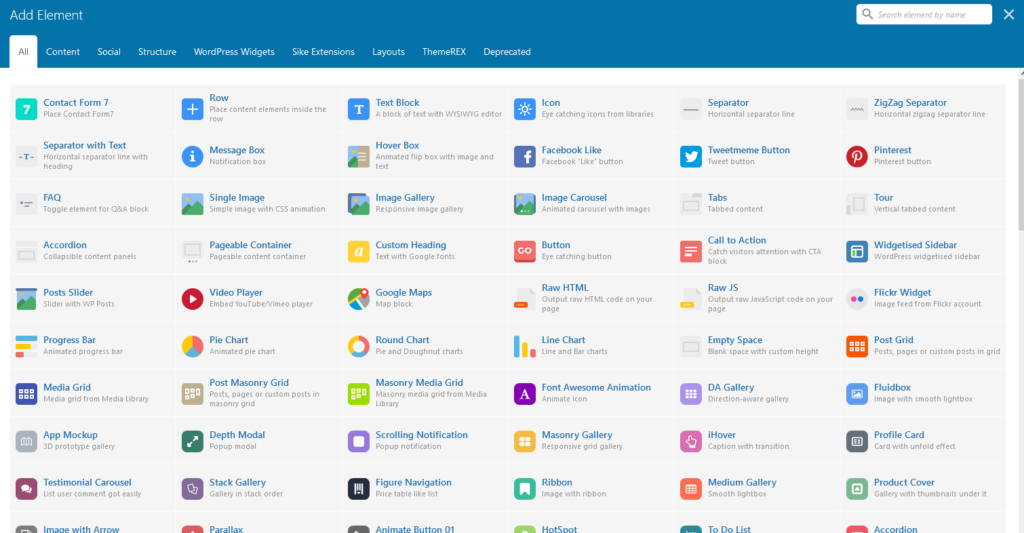
6. If your theme has a content builder, you can easily drag and drop different content around. For example, in WPBakery, the backend editor lets you add elements, text blocks and templates. By dragging and dropping these elements into rows you will see your page coming together.
7. Below your page/content builder, you will see generic page options. These include default layouts, and other custom settings.
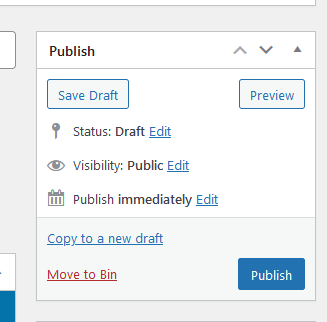
8. If you click save draft if you are not ready to publish your page yet. If you are ready you can click the publish button.
9. If you click Preview, you can view your edits before publishing. Once you have published, you will not be able to undo any actions.
10. You can also change the status, visibility and publish date.
In Page Attributes, you can select a parent page, a template and the order.
In Featured Image, you can select one featured image for your page.
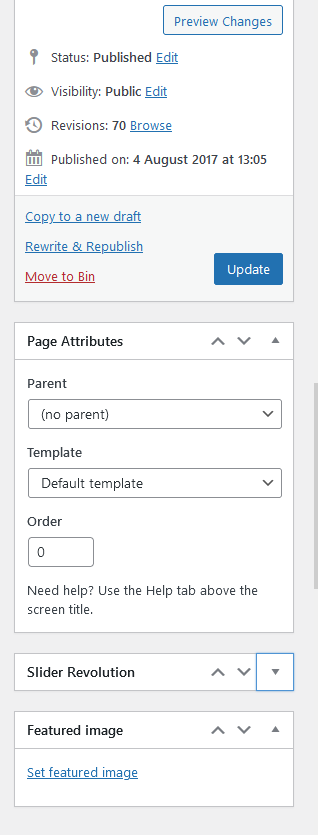
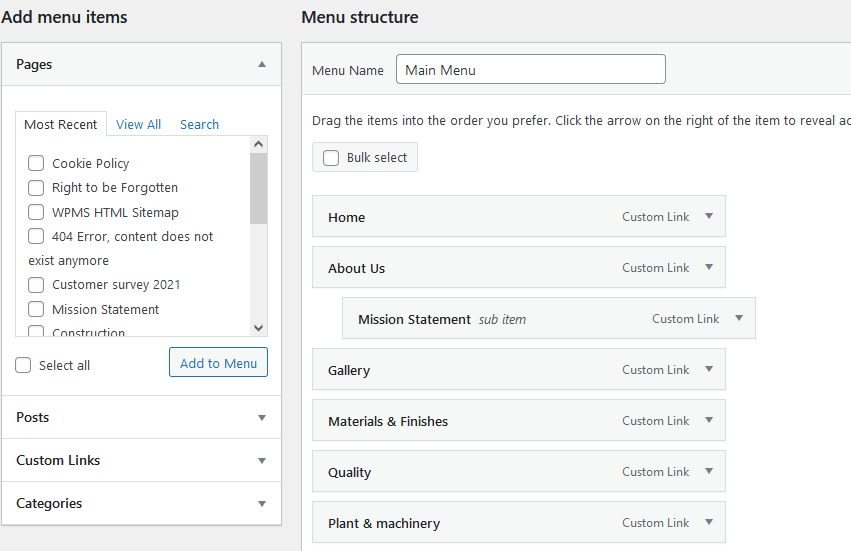
Once you’ve finished creating your page, don’t forget to add it to the menu by going to Appearance > Menus, then click the checkbox of your new page.

You can then drag it up and down the menu, or drag it sideways to indent as a subpage underneath a top level page.
Betheme
The pagebuilder will feature different colour sections and appears in the same order as you’ll see on the front end of the page. For example, if you wish to edit the home page, select the homepage from Pages, then you’ll see a layout which looks similar for your front end.
To edit an element, press the little pencil and it will give you options.

