Uploading Products in WordPress using WooCommerce
UPLOADING FROM CSV
For this, you should already have your products set out in a CSV file. If you have not already got this, create an Excel spreadsheet, and list your products and the product details in columns and rows. Ensure you use correct headers. You can view more details on this here: https://docs.woocommerce.com/document/product-csv-import-suite-column-header-reference/ Save As a CSV file.
- Navigate to the back end of your website and log in
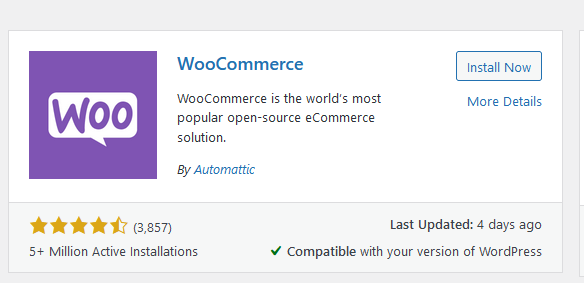
- If you haven’t already, install WooCommerce. (see the SOM for Setting up WooCommerce in WordPress)
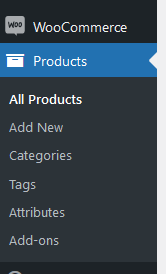
3. In the left navigation pane of the back end, find the Products option.
4. To import products, click ‘all products’. At the top of the page there will be 3 buttons. Click ‘import’.

5. Browse to find your file, and click OK to upload it
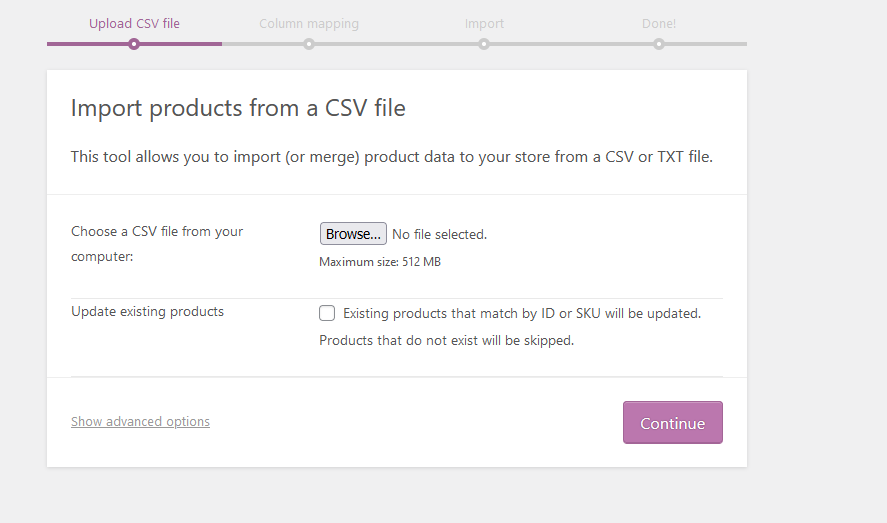
6. Click continue
7. In Map CSV fields to products, you’ll assign the fields in your CSV to more user friendly names. Ensure these all match up.
8. Click Run the Importer
9. Once complete, you’ll see a completed note and it will tell you how many products were imported, and any errors that may have occurred.
10. To view your products, click view products. From here you can also add images and extra options by hovering over a product and clicking Edit.
CREATING PRODUCTS MANUALLY
- Navigate to the back end of your website and log in
- If you haven’t already, install WooCommerce. (See the SOM for Setting up WooCommerce in WordPress)
3. In the left navigation pane of the back end, find the Products option.
4. Click Add New
5. Give your product a name.
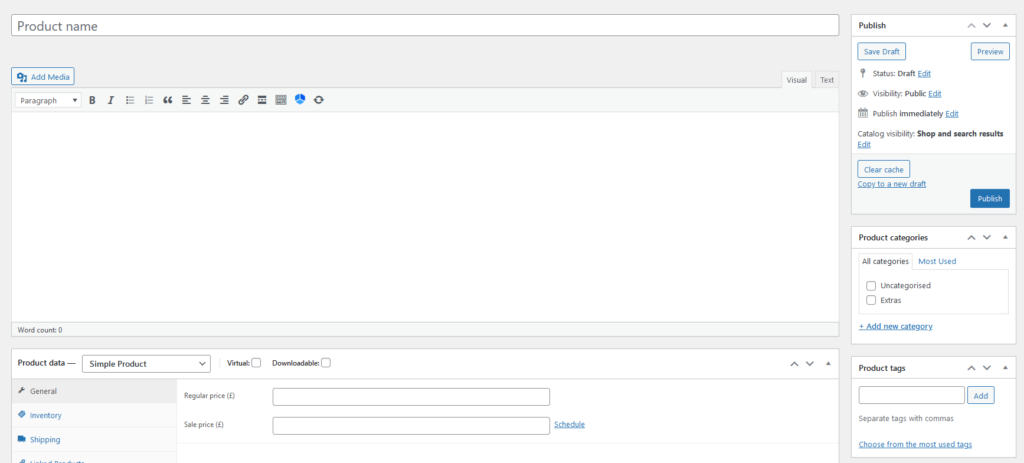
6. Scroll down to find the product data box.
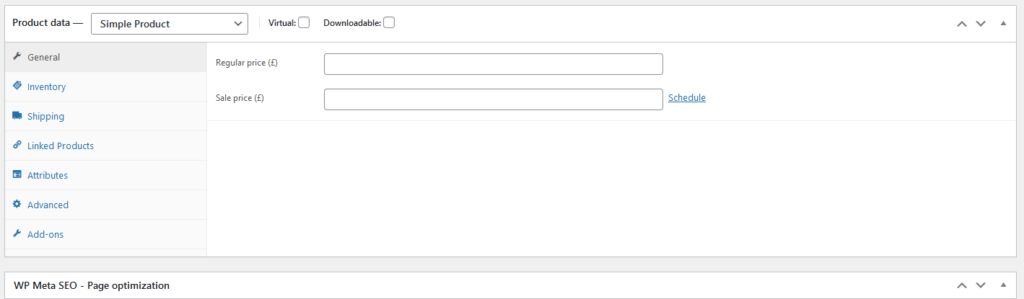
7. Choose your product type as either a simple, grouped, external/affiliate or variable product:
Simple – covers the vast majority of any products you may sell. Simple products are shipped and have no options. For example, a book.
Grouped – a collection of related products that can be purchased individually and only consist of simple products. For example, a set of six drinking glasses.
Virtual – one that doesn’t require shipping. For example, a service. Enabling this, disables all shipping related fields such as shipping dimensions. A virtual product will also not trigger the shipping calculator in cart and checkout.
Downloadable – activates additional fields where you can provide a downloadable file. After a successful purchase, customers are given a downloadable file as a link in the order notification email. This is suitable for example for a digital album, PDF magazine, or photo.
External or Affiliate – one that you list and describe on your website but is sold elsewhere.
Variable – a product with variations, each of which may have a
different SKU, price, stock option, etc. For example, a t-shirt available
in different colours and/or sizes.
- Insert a regular price, and a sale price if you wish to show a reduced price
- Click on inventory, and insert a SKU (Unique identifying number)
- Choose your stock status, and check manage stock or sold individually if you wish
- Click on shipping, and define the weight, dimensions and shipping class
- Click on linked products, if you wish to add upsells and cross sells.
- Click on attributes if you wish to add a custom product attribute (such as various colours for one product)
- Click on Advanced. This allows you to add a purchase note, menu order and enable reviews.
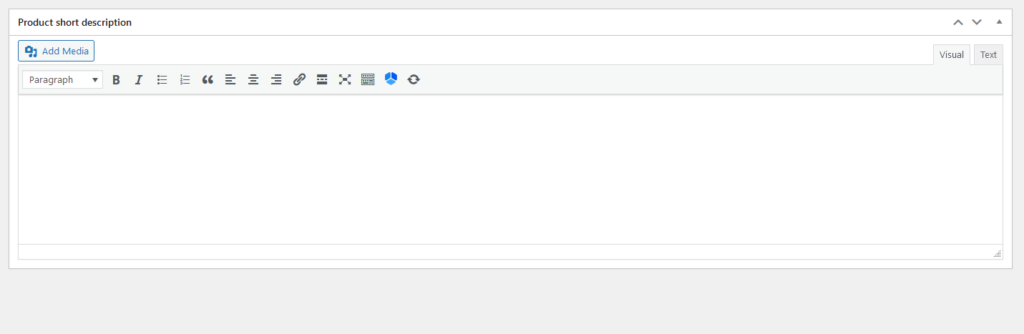
- Scroll down to Product Short Description, and type a description for your product
16. In the right hand boxes, you can add the product to a category, add tags or images
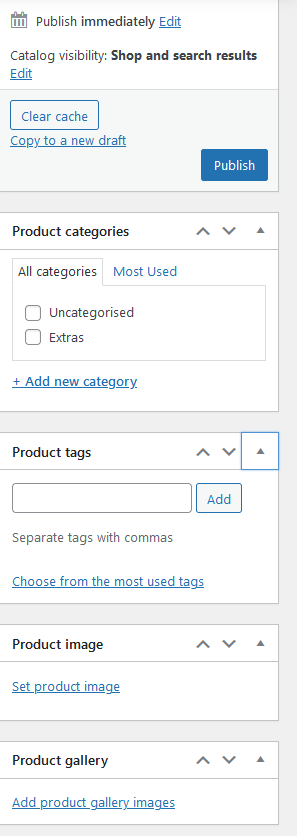
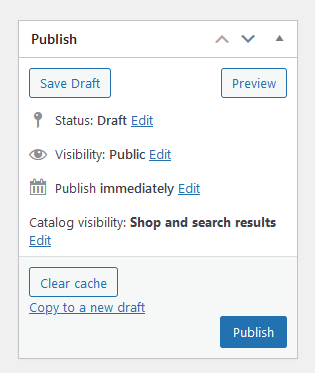
17. Once complete, click publish.